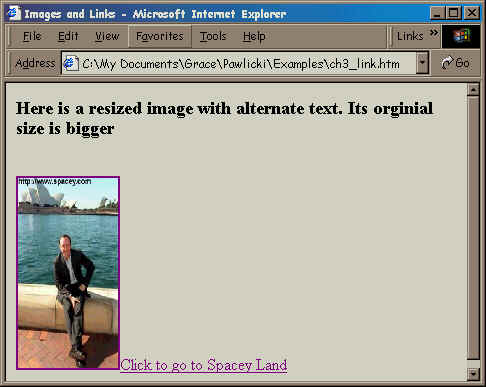

Figure 3.1 and 3.2: An image that acts as a link. The alternate text is not shown.
Chapter 3: Images
Images add a fun and eloquent look to your page. You can also display important information such as charts and graphs. A word of caution when playing with image files: make sure that your file loads quickly. Graphics files tend to be huge, so you want to use ones that are small in size.
You've already seen how to insert an image in chapter 1. You can also create a border and offer an alternate text. Alternate text is the little text box that pops up when you place your mouse over an image. Also, if the viewer chooses not to download the image, the text fills the location of the image.
1. Type <IMG SRC="file name".
2. If desired, type BORDER=n, where n is the thickness of the border in pixels.
3. Type ALT="type description" to add altnernate text to the image.
4. To resize the image, type WIDTH=x, and HEIGHT=y, where x and y are pixel sizes.
Adding a Link to Images
Sometimes you want to have a smaller version of a picture leading to the full-size version. This can be done by making the small image a link to the bigger one. Then you front page can load faster and you leave the viewer to decide whether they want to see the full image. You can also use this when you want a image to act as a button to another site.
1. Type <A HREF="destination">, where destination is either a file name or website address (be sure to start by "http://...").
2. Type <IMG SRC="file name".
3. Add alternate text and resizing if desired.
4. Type >.
5. Type the label you want to go with the link, if desired.
6. Type </A> to mark the end of the link.


Figure 3.1 and 3.2: An image that acts as a link.
The alternate text is not shown.
Wrapping Texts and Adding Space around an Image
You can use the ALIGN attribute to wrap text around an image. You can only align it left or right.
1. Type <IMG SRC="file name".
2. Type ALIGN = left to put the image on the left side, or ALIGN = right to put it on the right side.
3. Add other attributes, e.g. sizing.
4. End with >.
5. Type the text that should wrap around the image.
Text that lies too close to the image looks ugly. To fix that,
you can add vertical and/or horizontal space around your image:
-- In the IMG tag, add HSPACE = x and/or VSPACE
= y. Pixels are added on both sides.


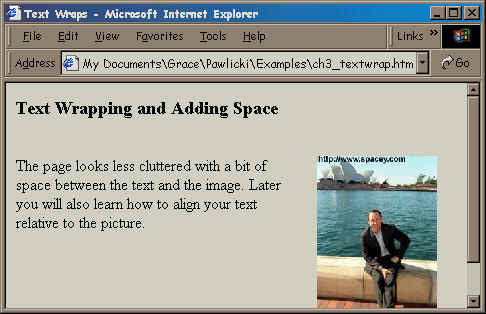
Figure 3.3 and 3.4: Adding an image with
horizontal space added, with text wrap.
Aligning
If you look at Figure 3.3, you'll notice that the text is aligned to the top of the image. ALIGN tag also lets you control the vertical alignment of the text relative to the image.
1. In the IMG tag, type ALIGN=direction, where direction is one of the following: texttop, top, middoe, absmiddle, bottom, or absbottom.
Horizontal Rules
Most browsers support the horizontal rule, so you can use HR tag instead of an image for faster downloading.
1. Type <HR where you want the rule to appear.
2. If desired, type SIZE=n, where n is the rule's height in pixels.
3. If desired, type WIDTH=n to specify the width in pixels.
4. You can also add the ALIGN attribute. The values are: left, right, or center.
5. You can also say, NOSHADE to create a solid bar.
6. Finish with >.
Exercise 5: Adding More Pictures
1. If you wish, comment out the www.rochester.edu link and image_1.gif image from the page.
2. Below your birthday text, add this image:

You should download this image in the directory that contains your web page
file. (Right click on the image and choose "Save Picture As...")
3. Align the image to the right.
4. Convert the image to a link to go to http://www.dali.com.
5. Add horizontal and vertical space of 30 pixels around the image.
6. Add another paragraph about yourself to the left of the image. The paragraph
should be wrapped around.
7. After the 'Hello, World!' line, insert a horizontal line.
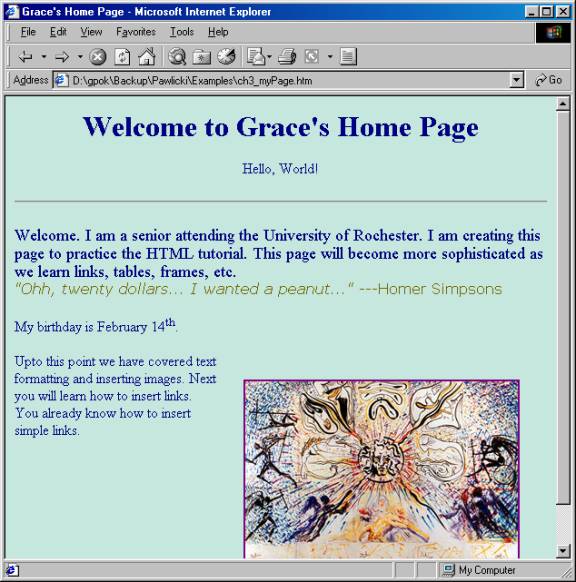
Your page should look something like this:

Back to the Top
To the Table of Contents